How to Build a Zip Line Professionally
This article is intended to provide a general overview of what is involved with building a professional zip line and it is not intended to teach individuals how to build a professional zipline. That would take a complete book and many hours of face to face training.
I am often asked by people how to build a zip line. In the simplest form a zipline is a cable stretched between 2 points. Often times you will see a homeowner stretch two cables between trees and set up a pulley for zipping. These zip lines are often short in length, low to the ground and may or may not be safely designed.
When building a professional zip line there are many factors to consider. One major consideration is speed. There are a number of factors that affect speed; slope of the cable, weight of the rider, weather (wind at your back, wind in your face), trolleys (some are slow / some are fast), clothing, etc. The faster the person goes the more difficult it becomes to stop them safely at the arrival area. Traditionally zip lines were built to look like a smiley face. You would jump off one end fly down the face and up the other side to slow down. After a few back and fourths you would end in the middle and a ladder would be used to help you get down. Zip lines have evolved and nowadays people are looking for more sophisticated setups. They want to have longer lines, higher throughput and they want people to arrive in small tree platforms or landing areas where they can easily unhook.
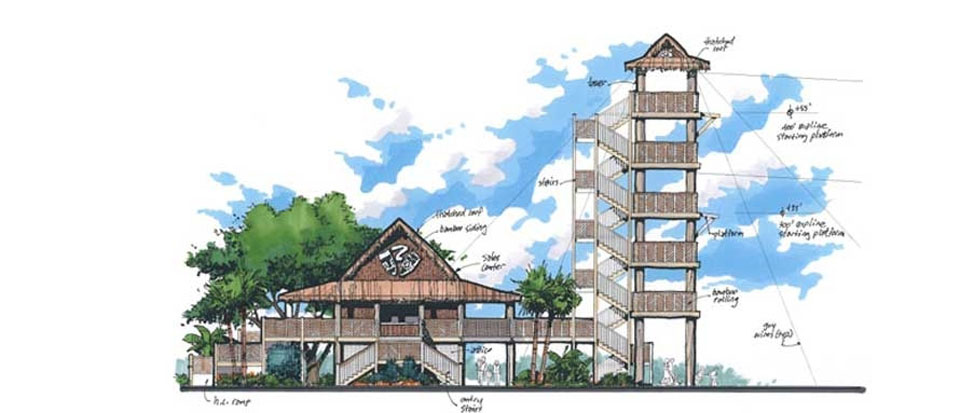
So here are the steps we take in building a professional zip line. The first step is to identity the departure and arrival locations for the course. It is important that the angle of the slop is manageable based on the breaking systems incorporated. Once the locations are determined we professionally survey the land and run a cable sag analysis. Our cable sag analysis report starts with formal survey points to determine ground line contour, arrival / departure tower requirements and cable sag to assure every line is designed with optimal slope and appropriate toe clearance for riders. We include sag analysis for rider and ice conditions. This approach assures lines are accurately hung for ultimate safety.
Once this step is done we can calculate the tower height requirements. Engineering is done to design the tower and the cable specifications. Once that is completed construction can begin. Now that the course is installed the real fun begins. How do you stop a person safely at the arrival platform? Older methods included having the participant wear a glove to drag on the top of the cable, bungee cords to slow the person down at the end, and belly dip in the cable so the person is arriving uphill into the platform. The glove break method relies on the participant which is never a good method. Bungee cords often do not work well and can recoil once they are stretched. Finally the belly dip leaves many people stuck on the line and is not effective with all weight ranges. Adventure Solutions uses the latest breaking technology for ziplines called the ZipStop. The ZipStop uses opposing magnet force to slow people down as they arrive. Lastly proper staff training and ongoing inspections are critical for any professional operation.
In conclusion, zipline construction should be left to professionals who have experience in designing and building them.